If you are an advertising agency, two primary tools will help you manage your accounts efficiently: client accounts and sub-accounts.
Setting up your agency account
First, when you sign up, be sure to select Agency as your account type. This crucial step allows you to create dedicated client folders for each of your clients.
Client accounts
When you create a new campaign, you'll have the option to either select an existing client or create a new one.
Benefits of using Client accounts:
-
Centralized campaigns: Group all campaigns for a single client in one convenient location.
-
Customized billing: Personalize billing information for each client.
-
Team assignment: Assign a client to a specific member of your team using a sub-account.
Sub-accounts
Sub-accounts enable you to grant access to your account to colleagues or agency clients.
Sub-accounts are used to distribute the management of your main account among your employees, or to allow your clients to access their own accounts to pay for their campaigns and view their dashboards.
Each sub-account is linked to a user (a colleague or an agency client). Within each sub-account, you determine the specific clients this user will have access to.
Access to a client can be granted to multiple sub-accounts.
These accesses can also be modified at any time.
Create a sub-account
To create a sub-account:
-
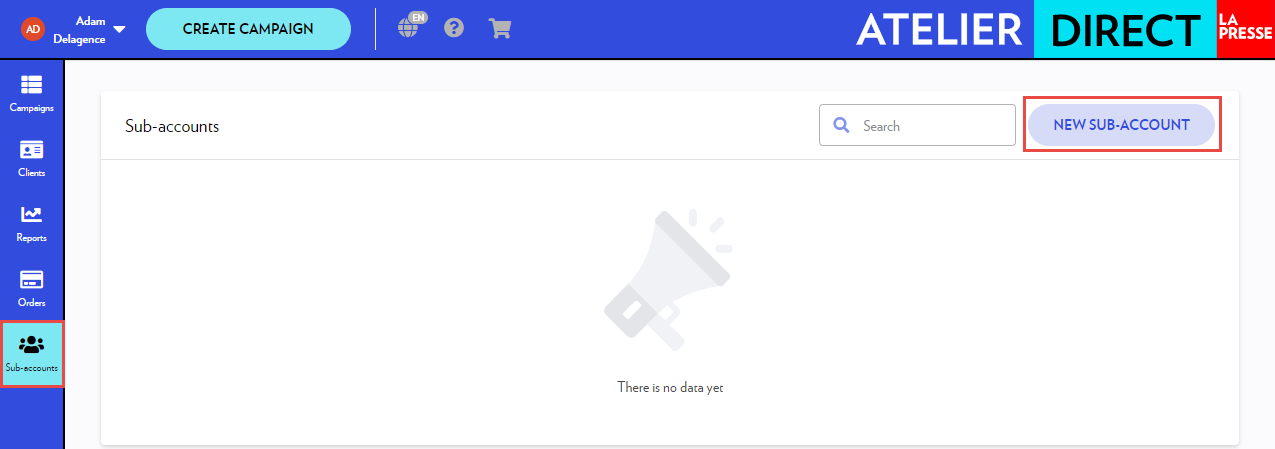
Click Sub-accounts in the left column.
-
Click New Sub-account in the top right.
-
Insert the required information.
-
Click Create.
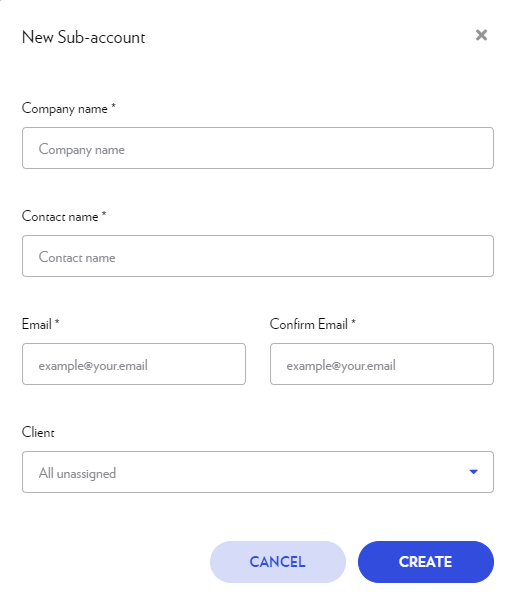
The choice of the client(s) to be assigned to the sub-account can be made at this time or later.
Your contact will receive a confirmation email with a link to set their password. Once the password is set, they will be able to log into your account and view the clients you have assigned to them.
Assign a client to a sub-account
-
Click Clients in the left column.
-
Click the client's line.
-
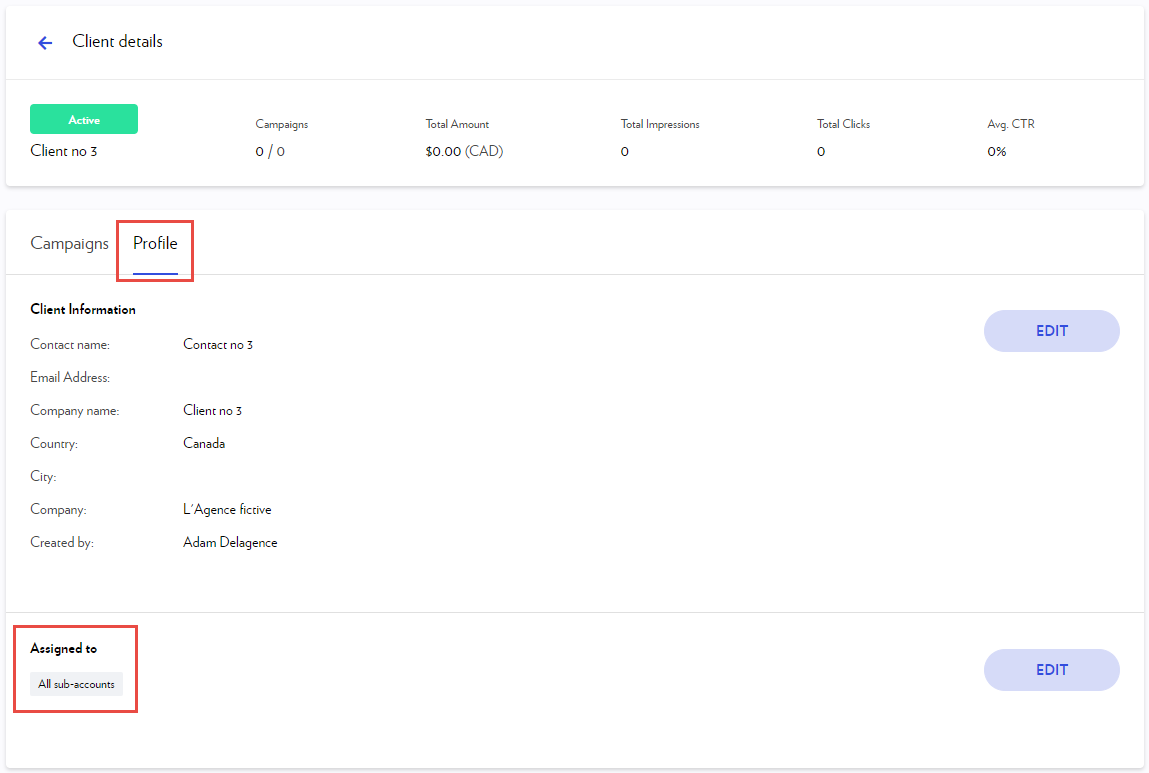
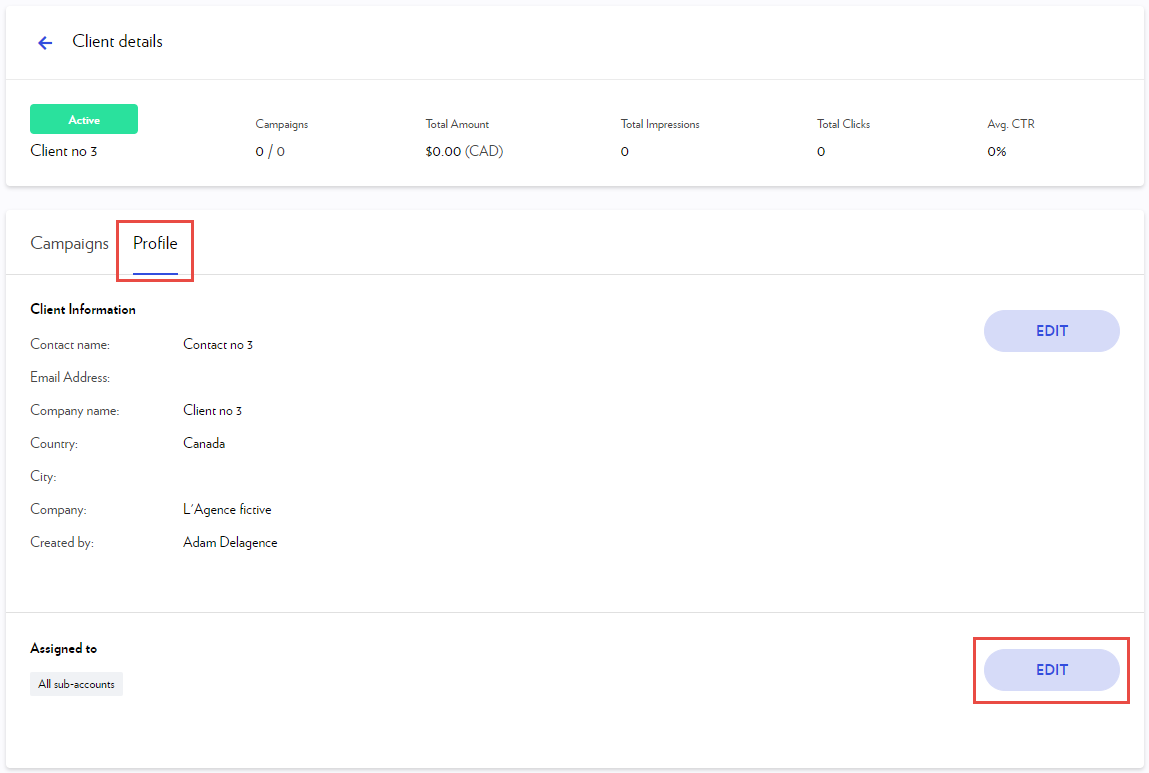
Click the Profile tab.
-
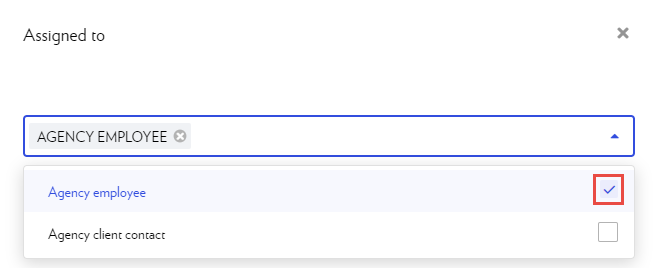
In the Assigned to section, click Edit.
-
Check the name of the sub-account holder who needs access to this client - if you want to remove this access later, simply uncheck their name.
Deactivate a sub-account
-
Click Sub-Accounts in the left column.
-
Click the sub-account row.
-
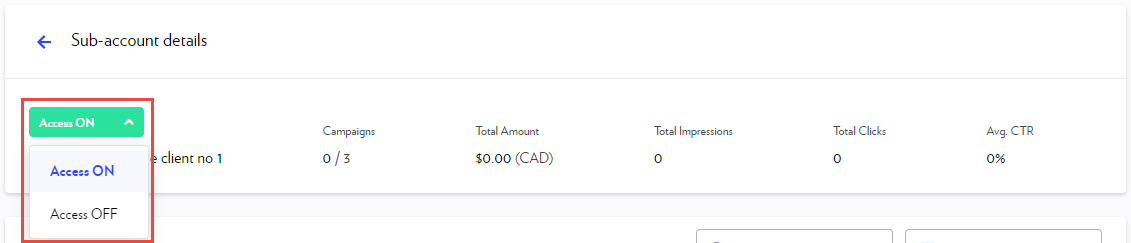
Click Access ON and select Access OFF. The sub-account holder will then receive an email notifying them that their sub-account has been deactivated.
Important
A sub-account holder has access to:
-
the clients assigned to them
AND -
all clients who have not been assigned to a sub-account
You must therefore ensure that each client is assigned to at least one sub-account. A client who is not assigned to a sub-account will be visible by default to all sub-account holders within the agency.